STEP 1: PREPARE YOUR PC
Click for Video
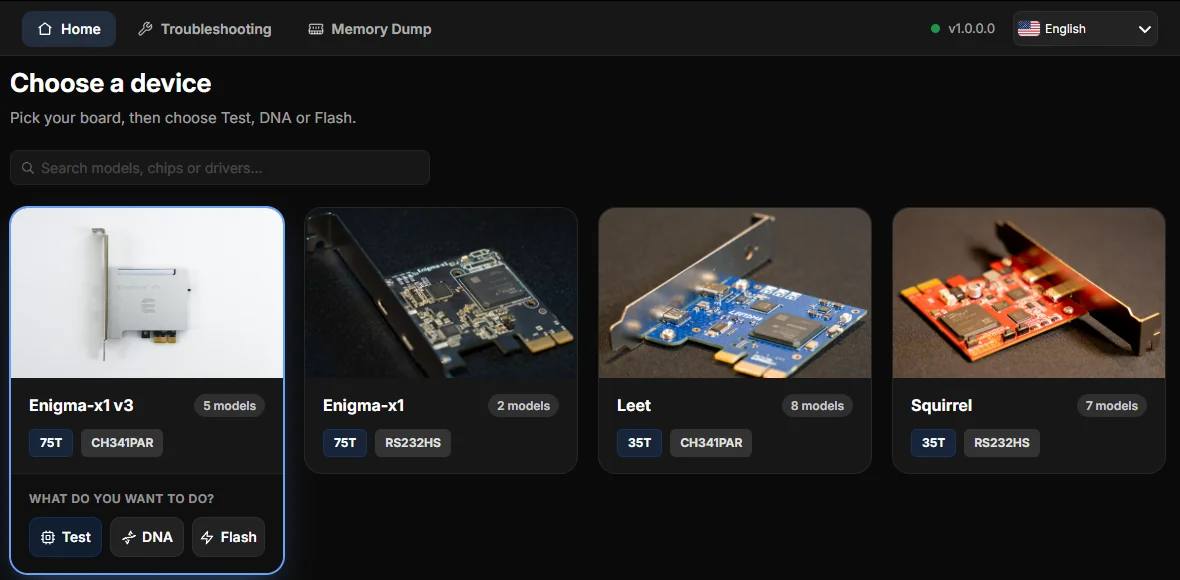
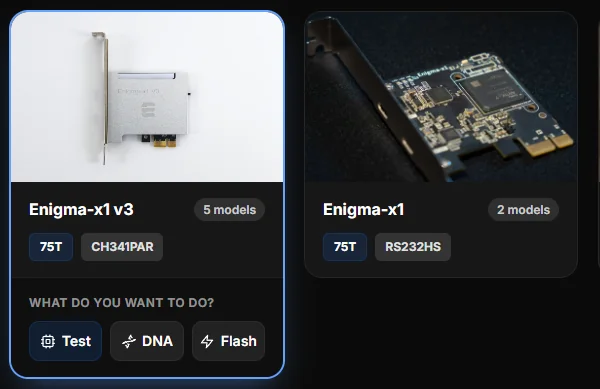
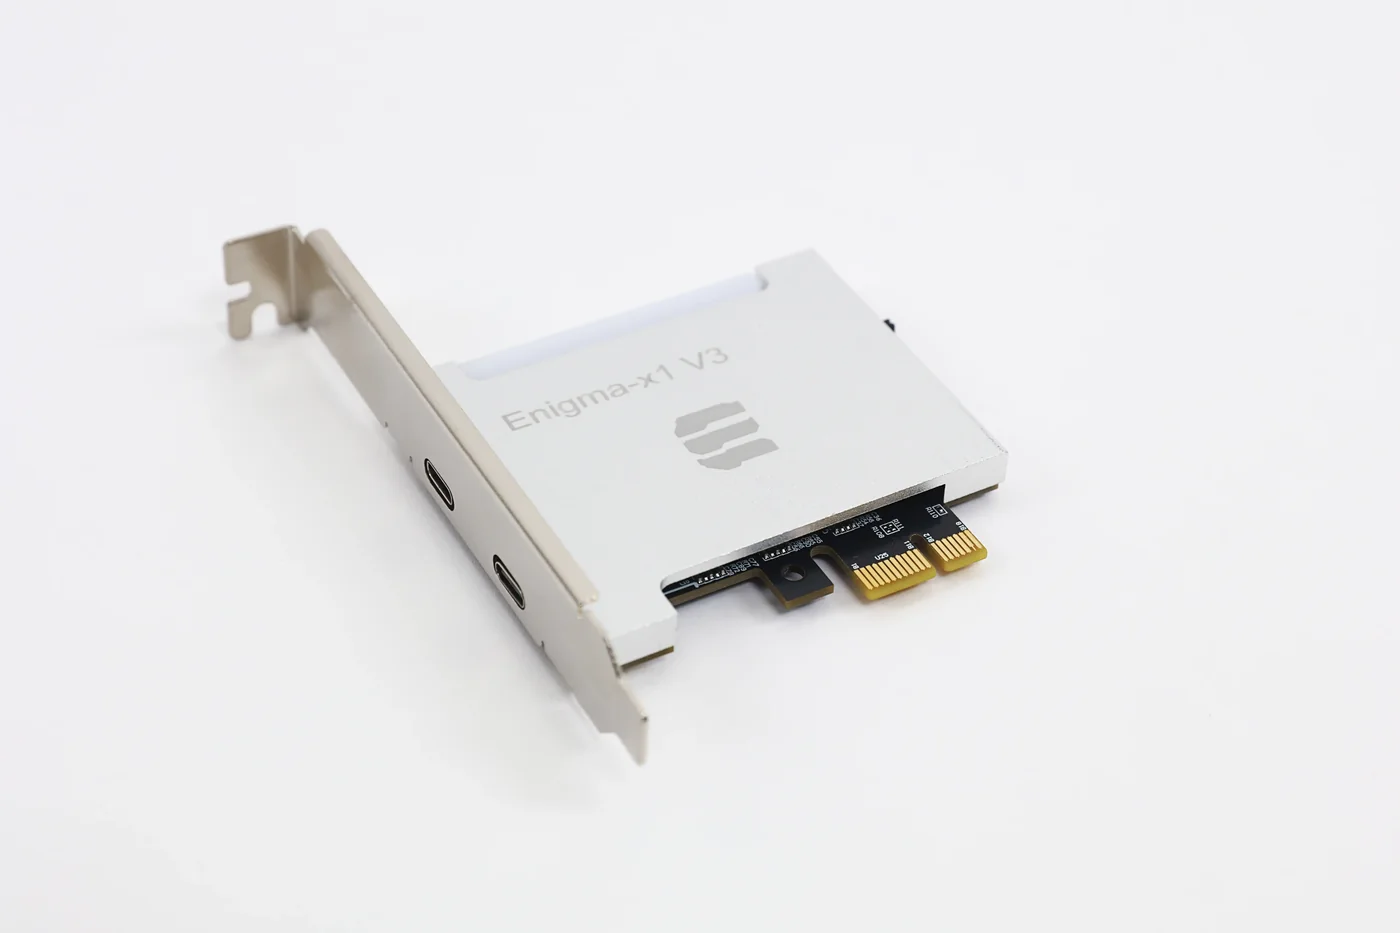
1. Install the DMA Card in the Gaming-PC
- Turn off the Gaming-PC and plug the DMA Card in
-> When installing/uninstalling the DMA Card you should always completely power off the PC - Insert the USB cable into the DMA Data Port
-> Use a USB 3.0 or faster cable for optimal speeds - Insert the other end into a USB port on the Second-PC
STEP 2: PREPARE YOUR BIOS
1. Power on the Gaming-PC and change the following BIOS settings on the Gaming-PC
- On Intel CPU disable VT-d
- On AMD CPU disable IOMMU
2. Save and exit from BIOS and continue to Windows
-> If you get stuck on the Windows login you need to flash your DMA Hardware first
STEP 3: PREPARE YOUR WINDOWS
1. Type "PowerShell" in the start menu on the Gaming-PC
- Open PowerShell with administrator privileges
- Type the following:
REG ADD "HKLM\SYSTEM\CurrentControlSet\Control\Session Manager\Power" /V HiberbootEnabled /T REG_dWORD /D 0 /F
- Press "Enter" and you should get the following message:
Disable-MMAgent -mc
- Press "Enter" and you should get this:
- If you see this message, memory compression is already disabled and everything is working as expected.
2. Restart your Gaming-PC
STEP 4: DONE
Make sure that your DMA Card has a firmware that supports the game you want to play.
- You can buy firmware on our store
- Already have firmware? Go to Flashing DMA
- DMA Card already flashed? Go to Testing DMA